cloning your group's repo
each group has their own git repo, hosted on cdf, that only group members can access. each repo has been pre-populated with a snapshot of the master branch of matplotlib's github repo. the address for your group's repo is:
https://git.cdf.toronto.edu/csc302-XXXwhere XXX is the repo number assigned to your group.
when you access your repo with the git command you will be prompted for a username & password. your username is your cdf account name, and your password & repo number have been sent to you by your instructor. if you have forgotten how to access your repo, please ask your teammates before contacting your instructor or ta.
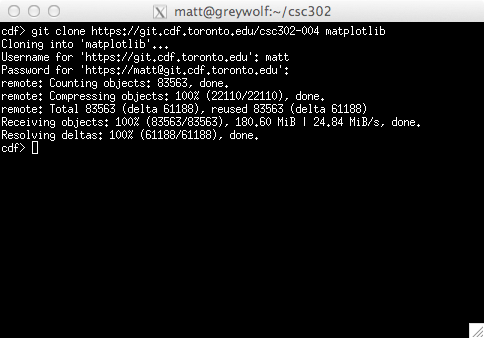
now for the fun stuff! to clone your repo on cdf (or anywhere else) run the command:
> git clone https://git.cdf.toronto.edu/csc302-XXX matplotlibremember to replace the XXX with your group's repo number. an example of what you should see when cloning your repo is shown in the figure below. note that i entered my cdf username, matt, when prompted, and that my repo number is 004. please use your own username & repo number when cloning your group's repo.
building your copy of matplotlib
so far, so good. we have a copy of our group's git repo containing matplotlib. the next step is to build it.
on cdf you don't have to worry about all the dependencies because they are all present. building on your own
couputer could be more complicated, and is therefore out of the scope of this howto. for help building on
your own computer have a look at the matplotlib documentation, in particular,
here.
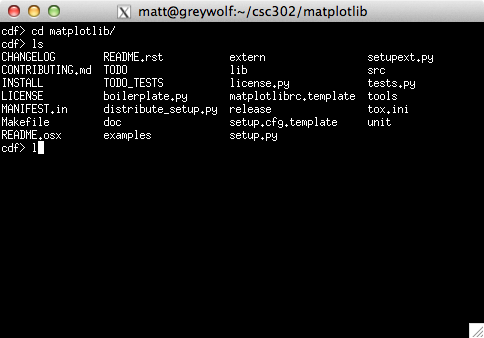
ok, back on cdf now. from your matplotlib directory, run the command:
> python setup.py buildnote the word build. we only want to build it, not install it. we can't install it on cdf anyway because we are not admins. after issuing the command to build, you will see lots of output scrolling by & the whole process will take a few minutes. once it's all finished, you will have a new build directory containing your ready-to-run matplotlib.
running a matplotlib test
the final step is to run a matplotlib test. there are plenty of examples that we can use to test that our matplotlib build is working.before running, we need to make sure we have the right stuff in our PYTHONPATH and that we are running the correct version of matplotlib (ours). Note that cdf has it's own site copy of matplotlib installed. cdf's matplotlib is not the one we want to run!
first, run the following command to see which shell you are using:
> echo $SHELLif your shell is tcsh, run the following:
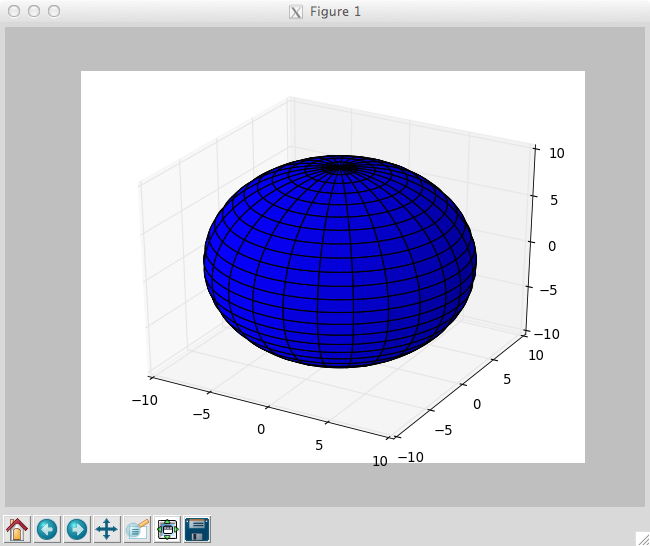
> setenv PYTHONPATH ~csc302h/winter/pub:$PWD/build/lib.linux-x86_64-2.7
> python -S examples/mplot3d/surface3d_demo2.py
if your shell is bash, run these:
> export PYTHONPATH=~csc302h/winter/pub:$PWD/build/lib.linux-x86_64-2.7
> python -S examples/mplot3d/surface3d_demo2.py
you should now be looking at a blue sphere!
- the PYTHONPATH contains the ~csc302h/winter/pub directory. a number of python modules that matplotlib requires have been installed there.
- the PYTHONPATH contains the matplotlib build directory. this one is obvious!
- the python command is run with the -S switch. this one is really important! the -S option tells python not to include "site" packages in it's search path. this is how we avoid running cdf's site installation of matplotlib, and instead target the one we built and referenced using the PYTHONPATH environment variable.
hope that was helpful!